How To Buy Ethereum Name Service (ENS) On Uniswap
A Step-by-Step Guide
Step 1 -
Create A Metamask to Buy ENS on Uniswap
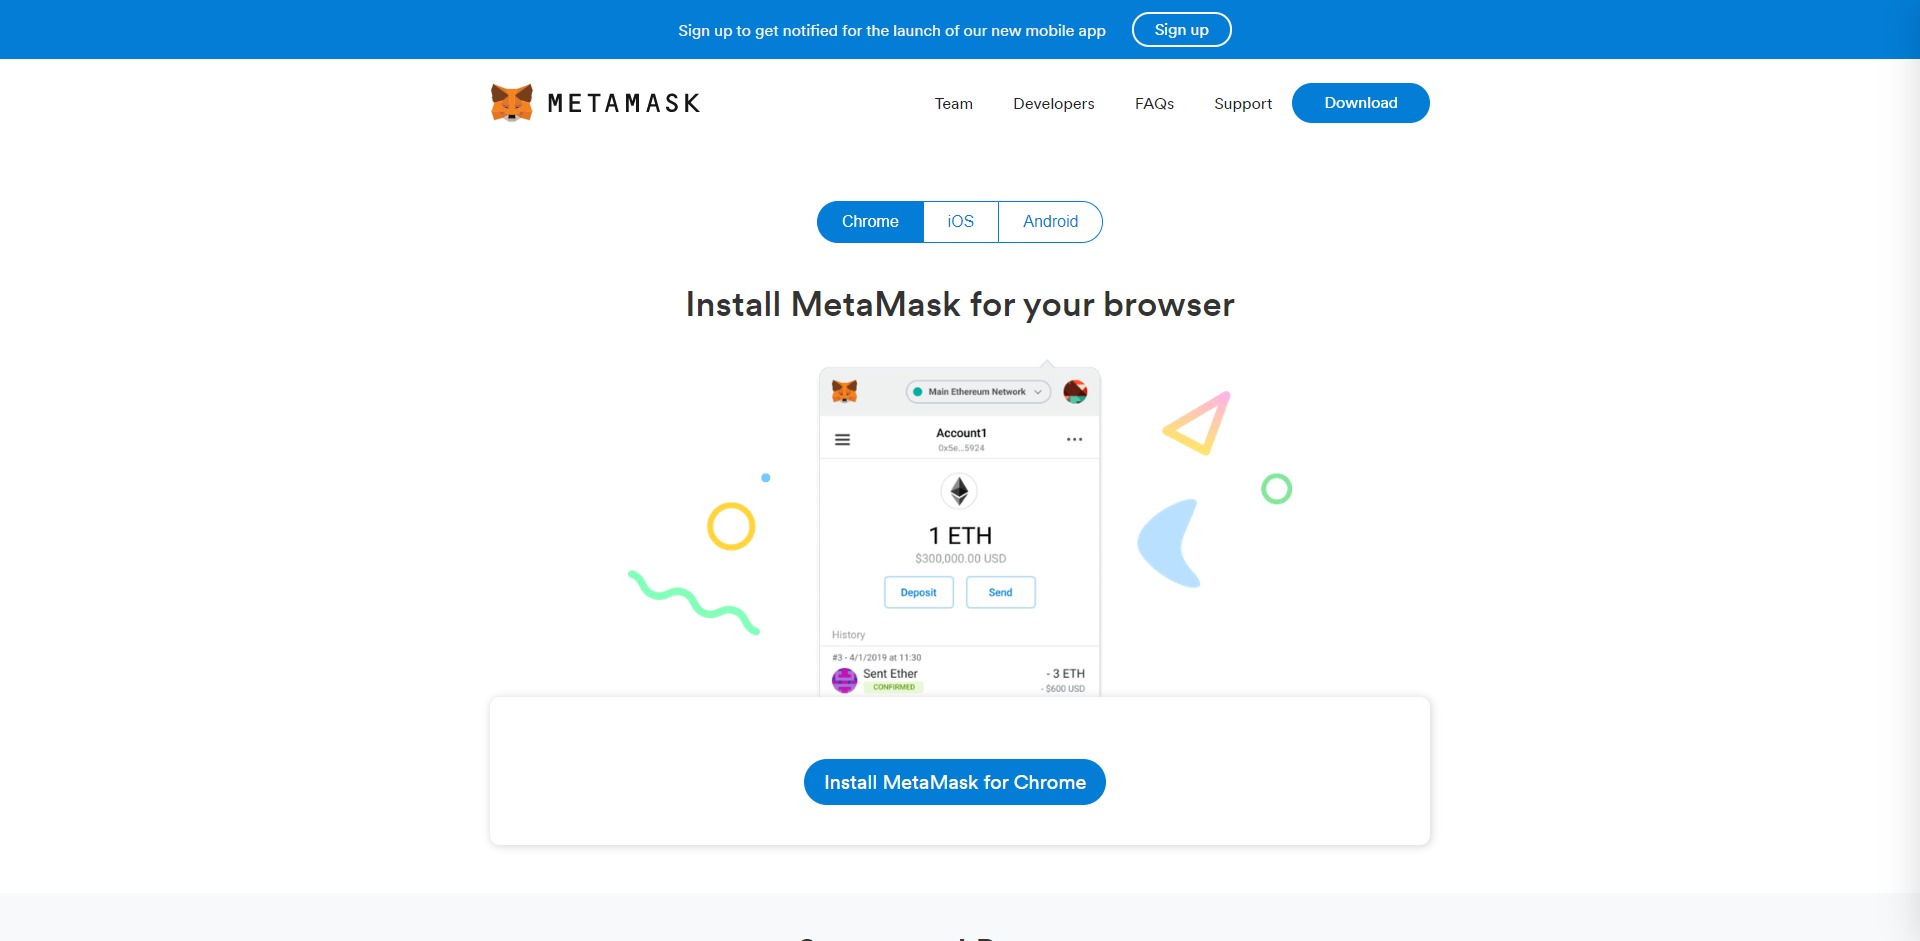
In order to buy Ethereum Name Service (ENS), you’ll first need to Create a Metamask wallet. Metamask is browser tool that allows you to interact with various decentralized applications such as Uniswap, without the need to login to third-party services to perform simple actions. Ethereum Name Service ENS is available on Uniswap, an exchange that is gaining popularity as interest in DeFi (decentralized finance) rockets higher and higher. Uniswap is decentralized and therefore allows users to interact with it directly from their wallet. Metamask is simply the tool that allows you to gain access to Uniswap in order to buy Ethereum Name Service (ENS).
The buttons below will take you to learn more about either Metamask and Uniswap.
Step 2 -
Connect To Uniswap To Buy Ethereum Name Service (ENS)
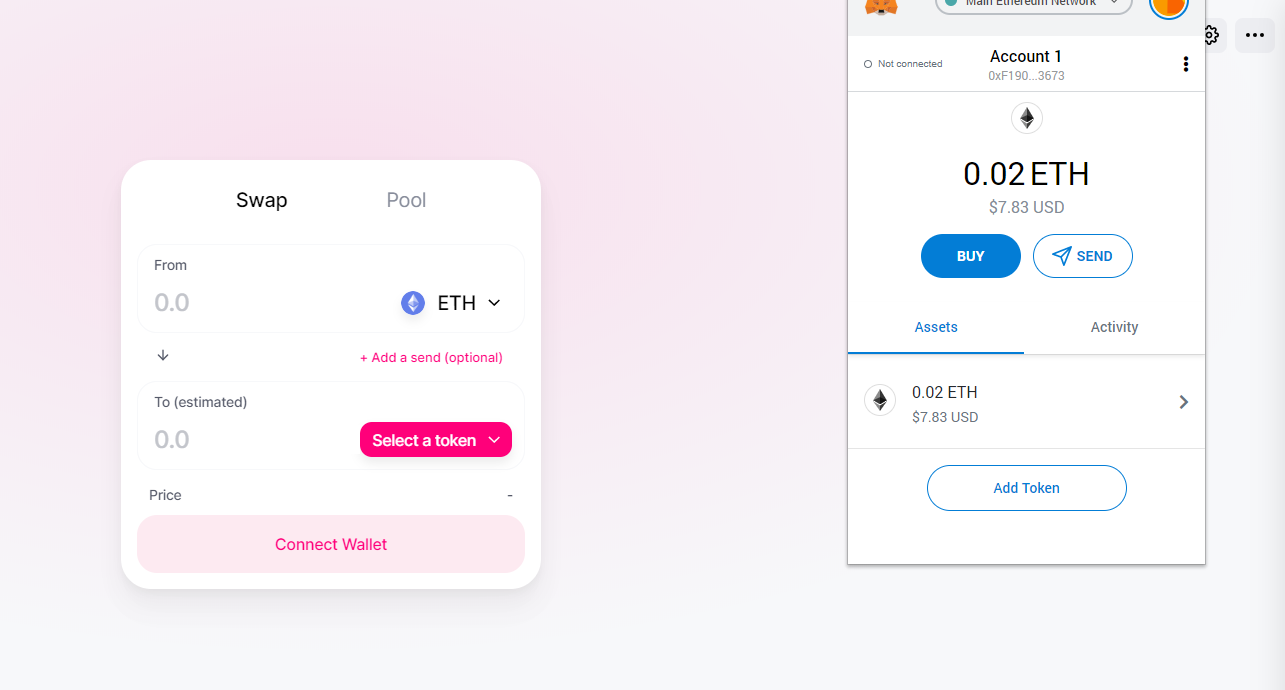
With a Metamask Wallet setup, you can now buy ENS tokens after you’ve deposited your desired amount of Ethereum (ETH) or any other token you’d like to “swap” for Ethereum Name Service ENS tokens into your Metamask address. Ethereum is the most popular currency on Uniswap, so we’ll use that. Head over to the Uniswap App when you’re ready to get started. Ethereum Name Service (ENS) tokens can be found by clicking the “Select a token” button highlighted in the screenshot provided. You can either locate Ethereum Name Service (ENS) via the dropdown box or enter the contract address directly.
If the token you’re looking to purchase isn’t located in the dropdown box, entering the contract address for that token is the only alternate way of purchasing. The contract address for Ethereum Name Service (ENS) is 0xc18360217d8f7ab5e7c516566761ea12ce7f9d72. It’s important to verify the contract address with the team directly if you’re able to get in touch with them, as entering the wrong address could result in the loss of funds. We’ve taken the available steps to verify the contract address in this example.
Once you’ve chosen Ethereum Name Service (ENS) from the dropdown or via input of the contract address, you’ll now be able to initiate a swap.
Step 3 -
Buying Ethereum Name Service (ENS) On Uniswap
Because Uniswap is a decentralized exchange similar to IDEX, Etherdelta, etc, there are a few steps you need to take to make sure you understand the process of swapping ETH for ENS.
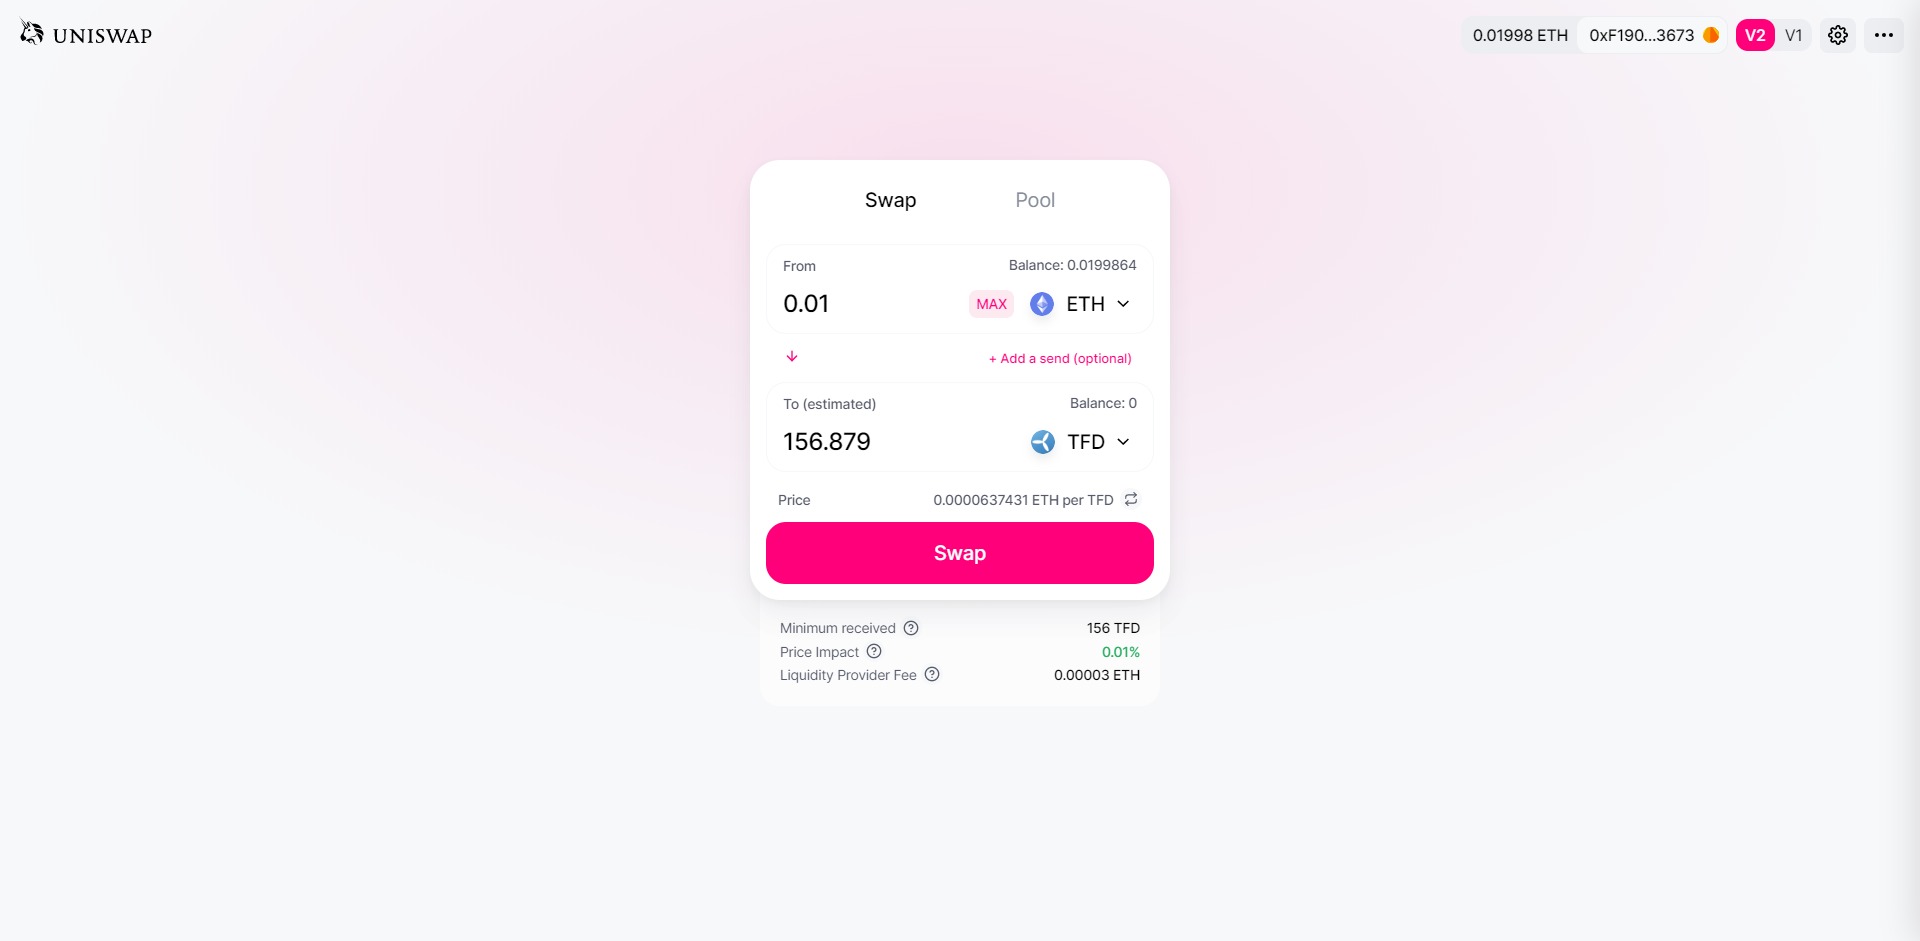
Before clicking “Swap”, take into account the “Minimum received”, “Price Impact” and “Liquidity Provider Fee” fields in order to make sure you perform the cleanest transaction with minimal impact to liquidity or unnecessary loss of your own funds due to fees, etc.
In the example shown in the image provided using TFD as an example, we can see that the “Minimum received” field is showing an amount similar to what we were quoted above, the “Price Impact” field indicates that our purchase will incur minimal impact to the price of the token and the “Liquidity Provider Fee” is reasonable for the size of our transaction. We can now hit “Swap” to buy Ethereum Name Service (ENS).
Step 4 -
After Buying Ethereum Name Service (ENS)
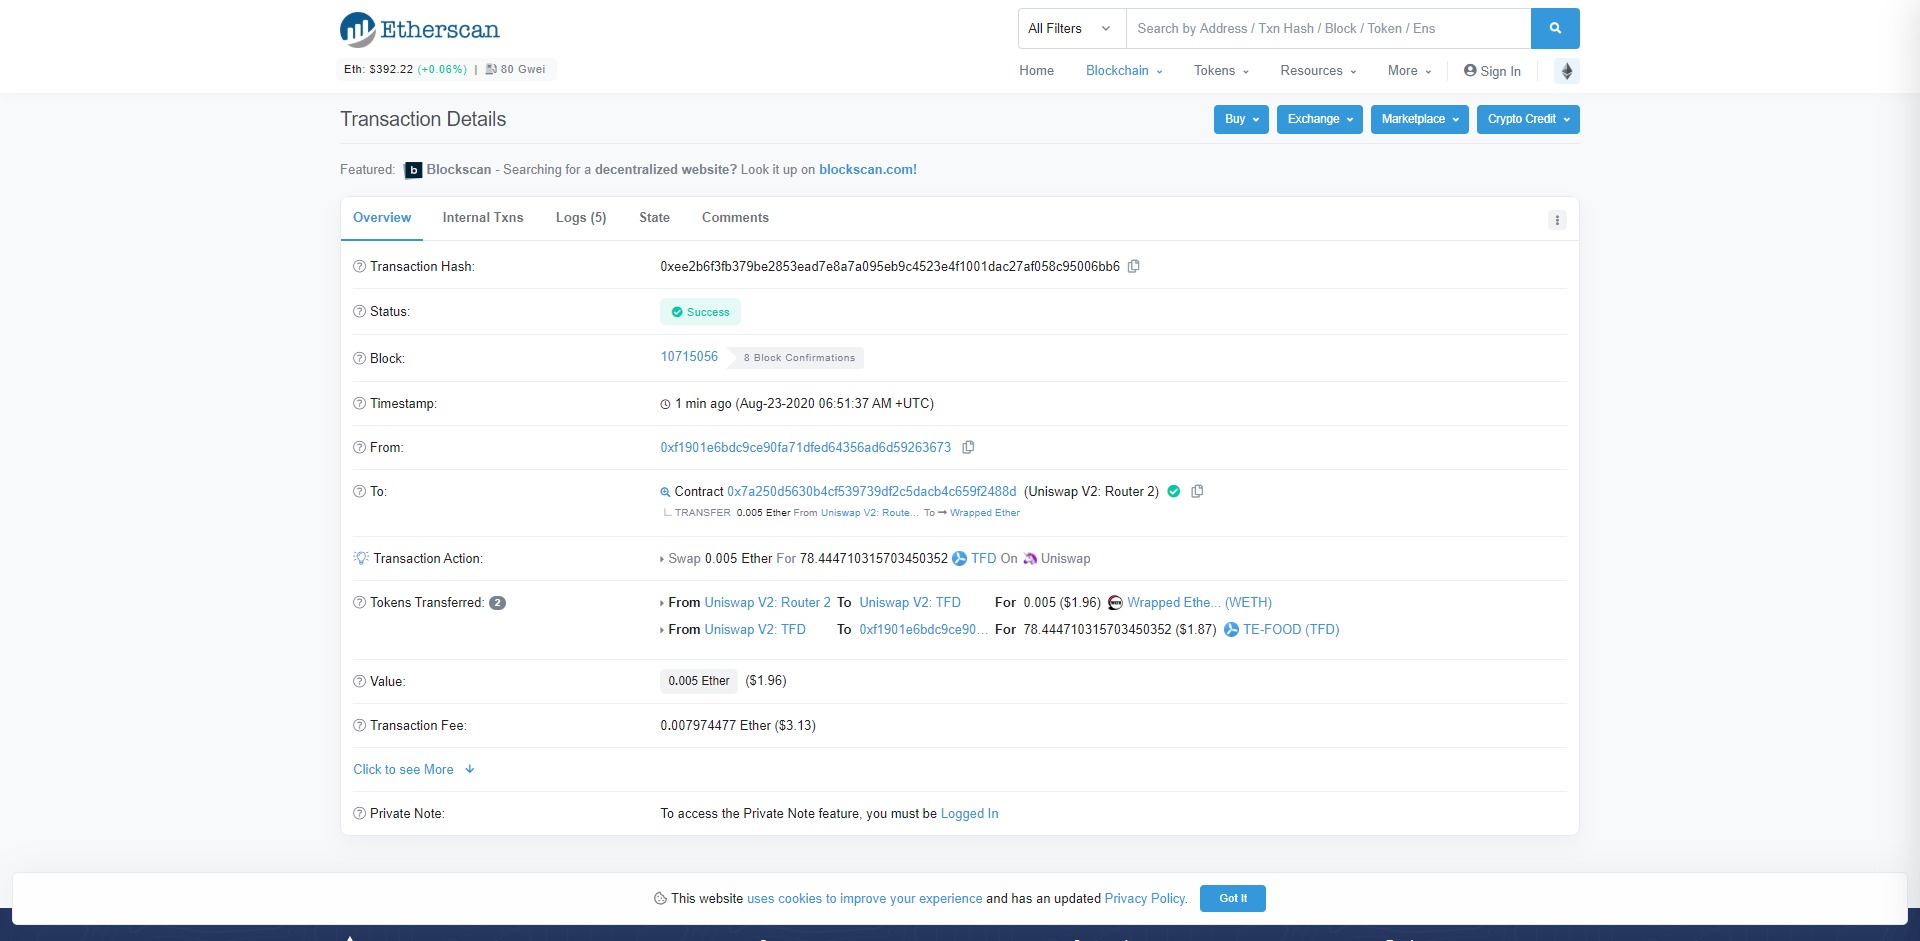
After you press “Swap” and buy your desired amount of Ethereum Name Service (ENS), you’ll want to check that you’ve received the correct amount of ENS in your wallet and all processes have gone smoothly. Please note that in times of high network usage, you may suffer from large fees or an increase in transaction times.
From here you are free to withdraw your ENS tokens out into another wallet or exchange that also supports Ethereum Name Service or simply hold them with the aim of selling or “swapping” the tokens at a higher price later on.
Uniswap has made the process of buying various ERC-20 tokens like ENS far easier in comparison to older decentralized exchanges like IDEX and Etherdelta which made users interact with order books and a lack of liquidity. Through the use of liquidity pools on Uniswap, transactions can be made with confidence that slippage will be kept at a minimum.

Congratulations!
You've just purchased Ethereum Name Service (ENS) On Uniswap
That’s it!
There’s a ton of opportunities available on Uniswap and you’ve just bought Ethereum Name Service (ENS) in a few simple steps. We highly recommend checking out the Uniswap Docs and finding out more about how you can contribute to liquidity.

